Based on your search results, here is a comprehensive guide to making your own “little cake” from scratch. This guide includes a recipe, tips for different methods, and the benefits of homemade baking.
For quick reference, here are two popular “little cake” options you can make:
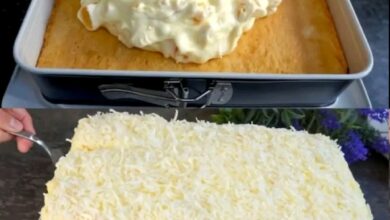
Mini Vanilla Cake for Two
· Pan Size: 6-inch round
· Key Ingredient: 1 tablespoon vanilla extract
· Special Tip: Easy one-bowl mixing method; perfect for a romantic date night or small anniversary.
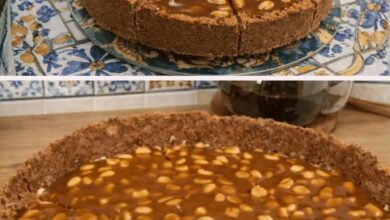
Small Batch Layer Cake
· Pan Size: Three 4-inch rounds (or one 6-inch)
· Key Ingredient: Sour cream and cake flour
· Special Tip: Creates a tiny, adorable layered cake for a small party.
🎂 Choose Your Method & Recipe
Beyond the classic recipes, there are different ways to make a little cake. Here’s a quick comparison to help you decide.
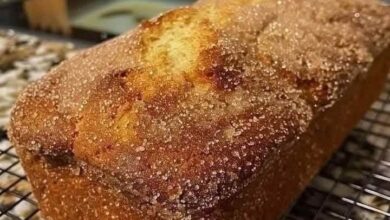
From-Scratch Cake
This is the most traditional and customizable method.You have full control over flavor and ingredients.
· Pros: Best texture and flavor; no preservatives; fully customizable.
· Cons: Requires more ingredients and precise measuring.
· Best for: A special celebration or when you want the highest quality result.
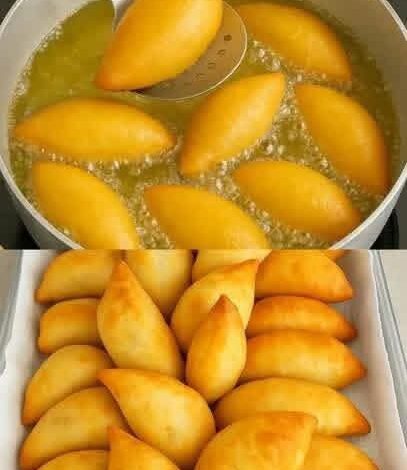
Using Cupcake Hack
This is a clever shortcut if you have cupcakes or leftover cake.
· How it Works: Use store-bought or homemade cupcakes. Peel off the wrappers, slice them in half horizontally, and stack the halves with frosting in between to create a mini layered cake.
· Pros: Extremely quick and easy; a great way to use up leftovers.
· Cons: Shape may be less uniform; limited to the flavor of the cupcake.
· Best for: A spontaneous treat or an easy project with kids.
From a Cake Mix
This is the fastest method,requiring only a few extra ingredients.
· How it Works: You use just 6 tablespoons of a boxed cake mix combined with water, oil, and a small portion of a beaten egg. The batter is baked in ramekins or small pans.
· Pros: Super fast and convenient; minimal cleanup.
· Cons: Less control over flavor; texture may differ from scratch.
· Best for: A last-minute, single-serving dessert craving.
✨ The Benefits of Baking at Home
Choosing to make your own cake has advantages beyond just taste:
· You Control the Quality: You decide what goes in, avoiding artificial preservatives, colors, and excessive sugar found in many store-bought cakes. You can also use organic or locally sourced ingredients.
· It’s Deeply Personal: A homemade cake carries a “personal touch” that store-bought versions lack. It becomes a physical expression of care and celebration, making the occasion feel more special and memorable.
· It’s a Creative and Rewarding Process: Baking can be a fun, stress-relieving activity that allows for creative expression through decoration. The satisfaction of creating something delicious from basic ingredients brings a unique sense of joy and accomplishment.
· It Can Be More Economical: Baking a small cake at home is often cheaper than buying a specialty mini cake from a bakery. Basic baking ingredients are inexpensive and can be used for many other recipes.
📝 Essential Baking Tips for Success
To ensure your little cake turns out perfectly, keep these expert tips in mind:
· Don’t Overmix the Batter: Once you add the flour, mix only until the ingredients are just combined. Overmixing develops the gluten in the flour, which can make your cake tough, dense, or gummy.
· Use Room Temperature Ingredients: Ingredients like eggs, milk, and butter mix together more easily and create a smoother, more uniform batter, which leads to a better texture.
· Try the Reverse Creaming Method: For an exceptionally tender and moist crumb, some bakers swear by the reverse creaming method. Instead of creaming butter and sugar first, you mix the butter into the dry ingredients until it looks like coarse sand, then add the wet ingredients. This method limits gluten development.
· Apply a Crumb Coat: A “crumb coat” is a thin, initial layer of frosting that traps all the loose crumbs. After applying it, chill the cake for 15-30 minutes before adding the final, smooth layer of frosting. This is the secret to a clean, professional-looking finish.
· Chill Before Decorating: Always chill your frosted cake before adding detailed piping, stencils, or lettering. Firm, cold frosting is much easier to work with and won’t sag or get damaged.
🔪 How to Frost and Decorate Your Mini Cake
Decorating a small cake uses the same principles as a large one, just on a smaller scale.
· To fill the cake, you can simply spread or pipe frosting between the layers. For runny fillings like jam, first pipe a buttercream dam around the edge of the layer to contain it.
· For the crumb coat, pipe or spread a very thin layer of frosting over the entire cake to seal in crumbs. Chill until firm.
· Apply the final coat of frosting. For smooth sides, use a bench scraper or cake comb. For a rustic look, use a spoon or spatula to create swirls.
· For piping decorations, use small piping tips (like a #16 star tip) to keep your designs in proportion with the cake’s size. Simple rosettes, shells, or dots around the top and bottom edges are classic and beautiful.
Whether you’re celebrating a small occasion or simply treating yourself, baking a little cake from scratch is a rewarding and delicious project. The personal touch of a homemade cake makes any moment sweeter.
If you decide to try one of the recipes and have questions about a specific step, like the reverse creaming method or making a buttercream dam, feel free to ask for more details.